PrairieFare: Preserving autumn: Exploring art of drying food
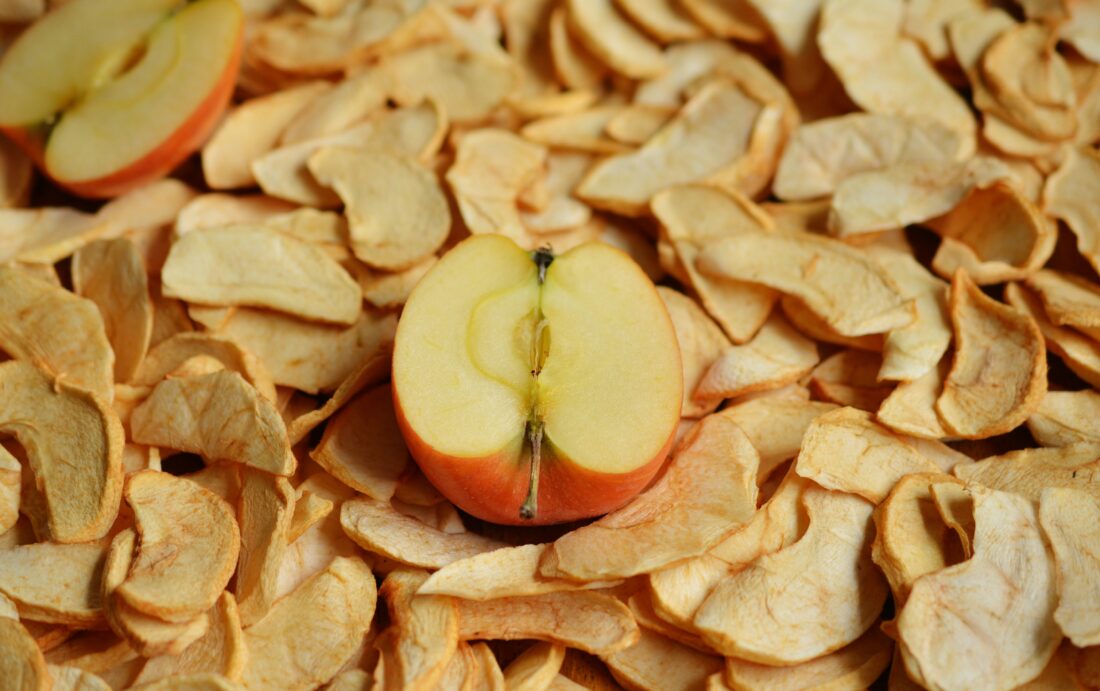
Submitted Photo Apples, cherries and grapes are all excellent fruits for drying. (Pixabay photo)
I crunched through the dried leaves on our sidewalk as I looked up to admire the glorious orange, red and yellow leaves on trees in our colorful autumn season.
When I walked into our house, I picked up dried leaves from a rug. Our dogs had scampered in with leaves clinging to their fur. Sometimes, they nibble on the leaves, but they do not find dried leaves to be appealing snacks.
According to food historians, early people observed animal feeding behavior to determine what was edible. Berries, for example, may have fallen from a tree, and the animals ate the dried fruit — and lived.
Beyond learning from animals, people soon discovered that food could last longer if it was dried.
Drying, or dehydration, is one of the earliest forms of food preservation. Early populations recognized that the action of the sun and wind could remove water. The scientific knowledge that informed us that bacteria, molds and yeast could lead to spoilage did not arrive for many generations.
Drying lowers the water activity — the amount of water available for micro-organisms to grow — helping food last much longer.
Remember that removing the water from food also concentrates the calories and natural sugars.
For example, a cup of grapes has about 60 calories, while a cup of raisins (packed in a cup) has more than 490 calories. These are both healthy snacks, but be aware that dried foods have more calories.
Drying food dates back to ancient civilizations before 12,000 B.C., where early people dried vegetables and fruits and other foods for later use.
Early Native Americans were particularly adept at drying corn, berries, squash, chokecherries, meat products and many other foods to help sustain their populations through cold seasons.
Pemmican is a mixture of dried meat, fruit and fat that was a portable food. The calories and nutrition they provided served as “energy balls.” Native Americans used the dried food to make various soups and recipes. Many of the traditional recipes remain.
What dried foods do you enjoy? Do you like raisins, cranberries, bananas, mangos, prunes or apricots? Maybe you like fruit leather or trail mixes with dried fruit. Instant coffee and nonfat dry milk are other innovations that grew from commercial applications of dehydration.
If you would like to try making your own dried food, easy-to-use appliances are available to help you dehydrate food all year round. From countertop food dehydrators to home freeze dryers, consumers can dehydrate food safely and effectively at home.
Apples, cherries and grapes are among the fruits that are excellent for drying. Carrots, corn, potatoes, squash and tomatoes are among the vegetables that can be successfully dried at home. When properly dried and stored in moisture-proof containers such as glass jars, dried food can last several months.
As we wrap up the Midwest gardening season, instead of a single recipe, I invite you to explore several publications at North Dakota State University Extension about drying fruit, fruit leather, vegetables, herbs and jerky.
Making Fruit Leathers (FN1586): Fruit leathers are nutritious, high-energy snacks for children and adults. Fruit leathers are portable, making them convenient additions to school lunchboxes or backpacks when camping or hiking. Making fruit leather is a good way to use leftover canned fruit and slightly overripe fresh fruit.
Drying Vegetables (FN1588): Drying is a long-standing, fairly easy method of food preservation. Whenever you preserve foods, choose the best-quality fruits and vegetables. As with other food preservation methods, drying does not improve food quality. Proper and successful drying produces safe food with good flavor, texture, color and nutritional properties.
Drying Fruits (FN1587): Making dried fruit can be a fun family activity with a tasty end product. Dried fruit is a portable snack, and it can also be used in recipes. Proper and successful drying produces safe food with good flavor, texture and color. Whenever you preserve foods, choose the best-quality fruits and vegetables. As with other food preservation methods, drying does not improve food quality.
Jerky: A Native American-inspired snack we all can enjoy today (FN2266): Though there have been many forms of dried meat throughout history and across the globe, jerky as we are used to seeing it today originates from the Native peoples of North and South America. In North America, Native Americans were often on the move and made use of large animals, such as buffalo, elk and deer. This publication provides step-by-step directions on how to create delicious jerky.
Many ovens are too warm to allow for the slow drying temperatures needed to effectively dry food. If you heat the food too quickly, the outside forms a hard “case” around the food that does not allow drying throughout.
If you decide to purchase a food dehydrator, look for heat control with a thermostat that allows a temperature range of 85 to 160 degrees Fahrenheit. A two-speed fan with a horizontal flow is preferable.
The trays should have a ¼- to ½-inch edge to avoid spillage. The plug should be grounded, and look for the “Underwriters Laboratories” (UL) designation, which shows that the product has been certified to meet safety and quality standards.
As you enjoy autumn’s colors, bring its flavors indoors. Try drying a batch of apple slices or making fruit leather from applesauce — simple projects that give you a taste of history and a healthy snack today.
Jerky Marinade
¼ cup soy sauce
1 tablespoon Worcestershire sauce
¼ teaspoon black pepper
¼ teaspoon garlic powder
½ teaspoon onion powder
1 teaspoon hickory smoke-flavored salt
*for 1½ to 2 pounds of lean meat such as beef, pork or venison
1. Prefreeze meat to be made into jerky so it will be easier to slice.
2. Cut partially thawed meat into long slices no more than ¼ inch thick. For chewy jerky, slice along the grain. For tender jerky, cut the meat at right angles to long muscles (across the grain). Remove as much visible fat as possible to help prevent off flavors.
3. Prepare 2 to 3 cups of marinade of your choice in a large saucepan.
4. Bring the marinade to a full rolling boil over medium heat. Add a few meat strips, making sure they are covered by the marinade. Reheat to full boil. Note: this step is essential to get the meat up to an internal temperature of 160 F to kill disease-causing microorganisms. *Due to thinness of meat, an instant-read digital thermometer is recommended.
5. Remove pan from range. Using tongs, remove strips from hot marinade (work quickly to prevent overcooking) and place in single, nonoverlapping layers on drying racks. (Repeat steps 4 and 5 until all the meat has been precooked.) Add more marinade if needed.
6. Dry at 140 to 150 F in a dehydrator, oven* or smoker. Test for doneness by letting a piece cool. When cool, it should crack but not break when bent. The meat should not have any moist or underdone spots. *Many conventional home ovens do not have a temperature setting this low.
7. Refrigerate the jerky overnight in plastic freezer bags, then check again for doneness. If necessary, dry further.
Putting unmarinated strips directly into the boiling marinade minimizes a cooked flavor and maintains the safety of the marinade.
Yield: 5 pounds of fresh meat should weigh approximately 2 pounds after drying or smoking. Use home-dried jerky within 2 months.
Local News
Half-staff flags to honor former governor
BISMARCK – Gov. Kelly Armstrong has directed all U.S. and North Dakota flags in the state to be flown at ...
City responds to watermain break
City of Minot crews responded to a watermain break Friday, Jan. 16, in the area of 206 16th Ave. SE. The break was ...
Dual, college credits expanded to language programs in Minn.
MOORHEAD, Minn. — Concordia College and its Concordia Language Villages program in Bemidji, Minnesota, announced ...
SRT plans yearlong events to mark 75th anniversary
SRT is planning a series of activities and events throughout 2026 to celebrate its 75th anniversary. The ...

Minot businessman announces campaign for US House